
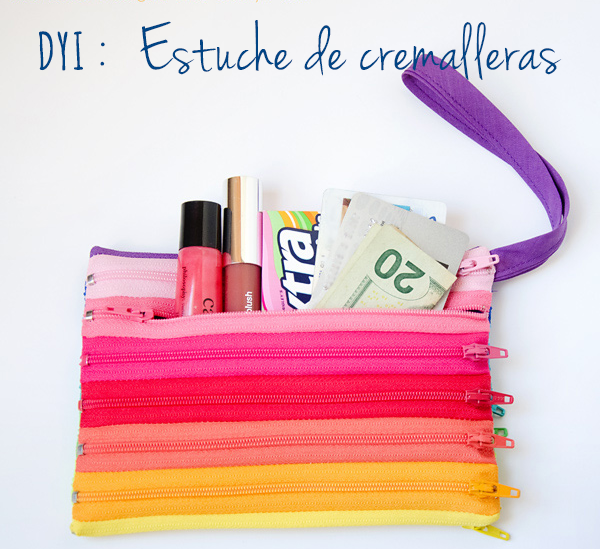
Hace unas semanas os hablaba del gran invento que fueron las cremalleras. Forman parte no solo de nuestras prendas, sino de cojines, ropa de cama, bolsos y todo tipo de accesorios. Navegando por las webs de manualidades encontré una idea magnífica para crear un estuche sin otro elemento que cremalleras.
An English translation below if you click ” Sigue leyendo”
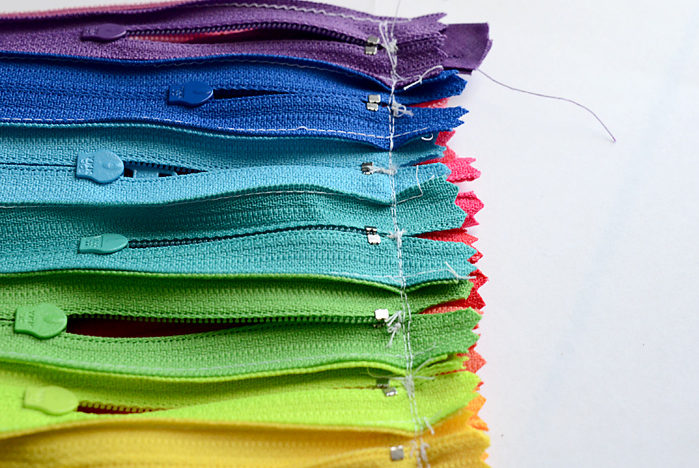
Jamie del blog “Scattered thoughts of a crafty mom” ha elegido distintos colores de cremalleras creando un divertido arco iris. Por supuesto, no tiene por qué ser ésta la distribución, puedes elegir los colores que quieras.
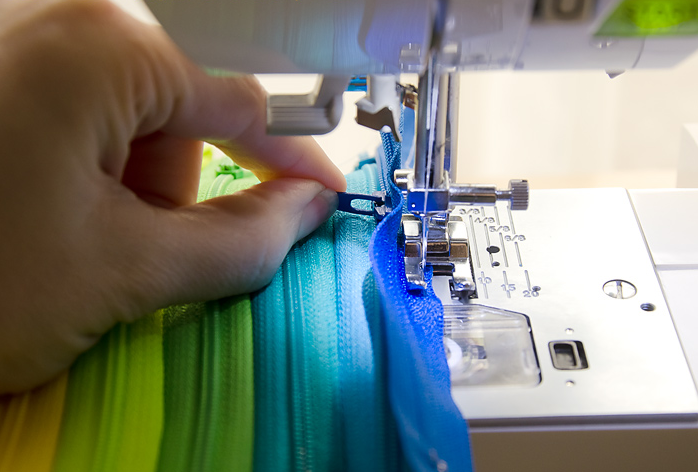
Lo primero que debes hacer es abrir las cremalleras y coserlas juntas, alineándolas en paralelo. Una vez que las cremalleras están cosidas, las doblamos a la mitad para crear la bolsita. 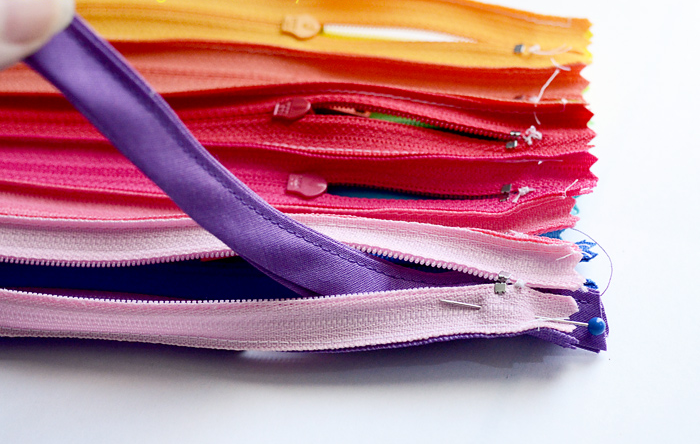
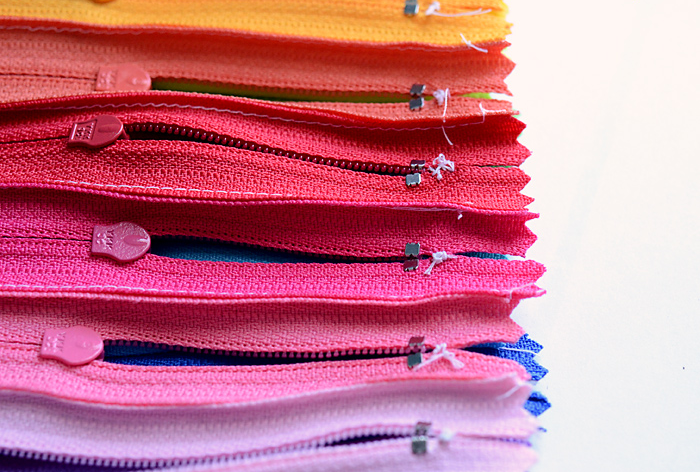
Para coser los lados de la bolsa es necesario primero abrirlas un tramo, y para mantenerlas alineadas darles una puntada de cierre.
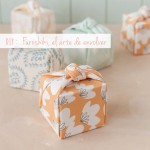
Se añade un pequeña asa de tejido para convertir el estuche en bolsa de mano si se desea. Ya solo queda cerrar la costura y dar la vuelta a la bolsa.
La gracia además está en que todas las cremalleras son funcionales, así que puedes utilizar cualquiera como apertura. Fácil de hacer y práctico de usar, no creéis?.
![]()
A few weeks ago I talked about the great invention of zippers. They are part not only of our clothes, but of cushions, bedding, bags and all kinds of accessories. Surfing on DYI websites, I found a wonderful idea to create a pouch with no other element that zippers.
Jamie from the blog “Scattered thoughts of a crafty mom” has chosen different colors of zippers creating a fun rainbow. Of course, it doesn’t have to be like that, you can choose the colors you want.
The first thing to do is unzip the zippers and begin sewing them together, aligning them in parallel. Once all of them are sewn together, fold the zippers in half (right sides together,) to make a pouch and sew the two ends together.
To sew along the sides of the pouch, you will need to open the zippers, and to maintain them lined up, sew a tiny basting stitch to keep them in place.
Fold the bias tape in half and slide it inside the pouch, lining up the edges. Pin in place. Sew along the sizes of the pouch, getting as close to the metal zipper stops as possible. Then flip the pouch right side out and gently press with edges with a warm iron.
All the zippers actually work, so you can open it any place you want. Easy to make and convenient to use, don’t you think so?
![]()
Imagenes: scatteredthoughtsofacraftymom


I am sure this post has touched all the internet people, its really really nice paragraph on building up new weblog.
I like this internet site because so much utile stuff on here :
D.