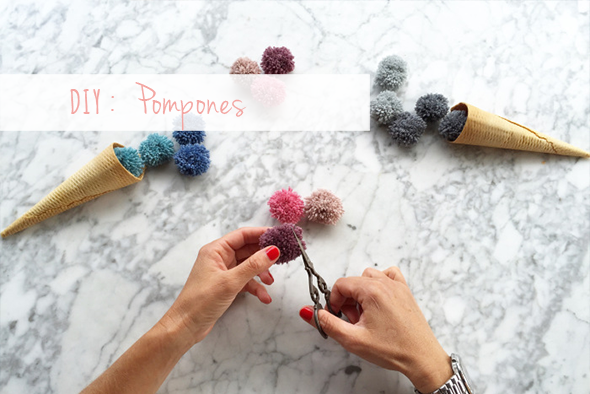
Uno de los recursos y adornos más fáciles de añadir en prendas, mantas o decoración son los pompones de lana. Seguramente cuando erais pequeños habéis visto a abuelas, madres y hermanas hacerlos recortando dos círculos de cartón. Una vez más, surcando la red he encontrado una manera mucho más fácil de hacerlos gracias a Poleomenta. Os dejo su enlace para que les conozcáis y veáis otras publicaciones (todas inspiradoras) y además os cuento cómo hacerlos.
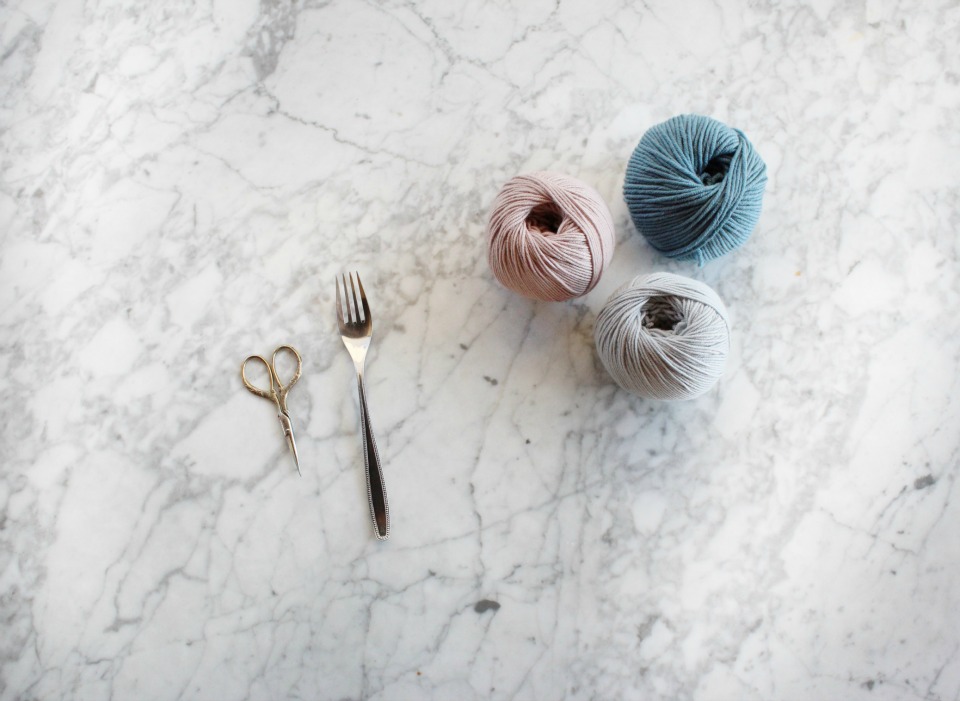
Solo se necesita:
- restos de lana
- un tenedor
- unas tijeras
An English translation below if you click ” Sigue leyendo”
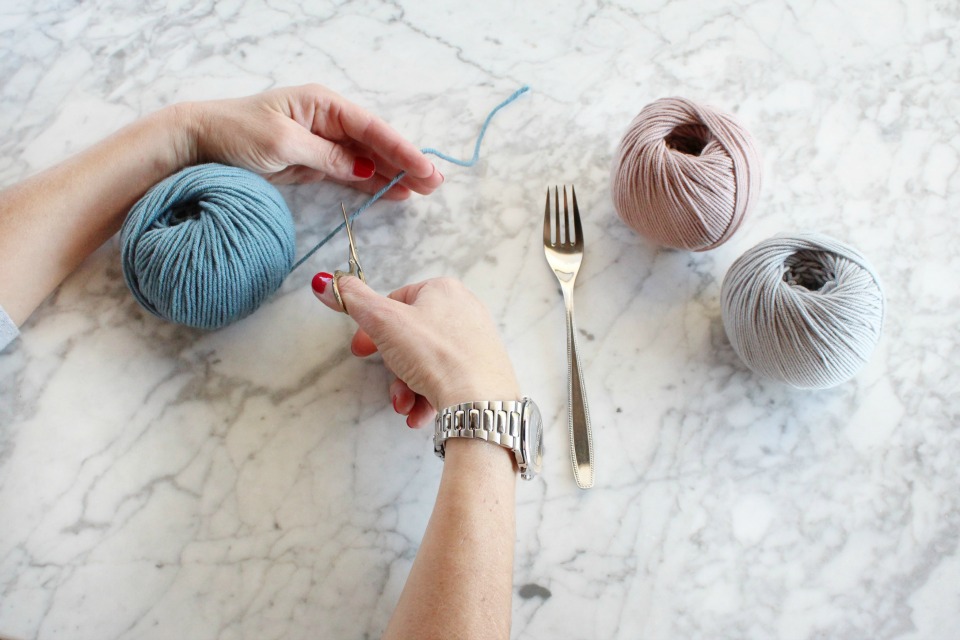
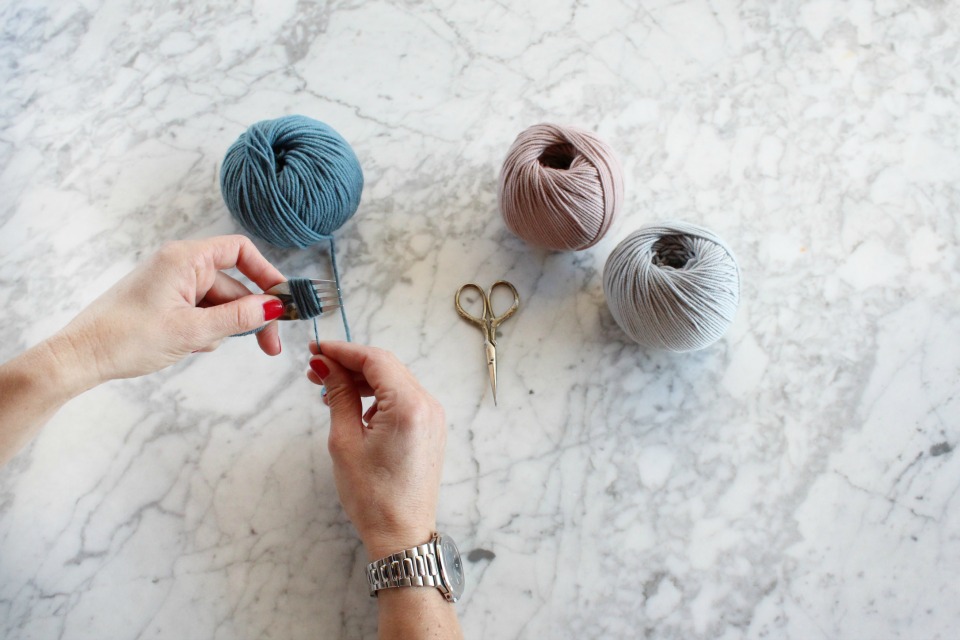
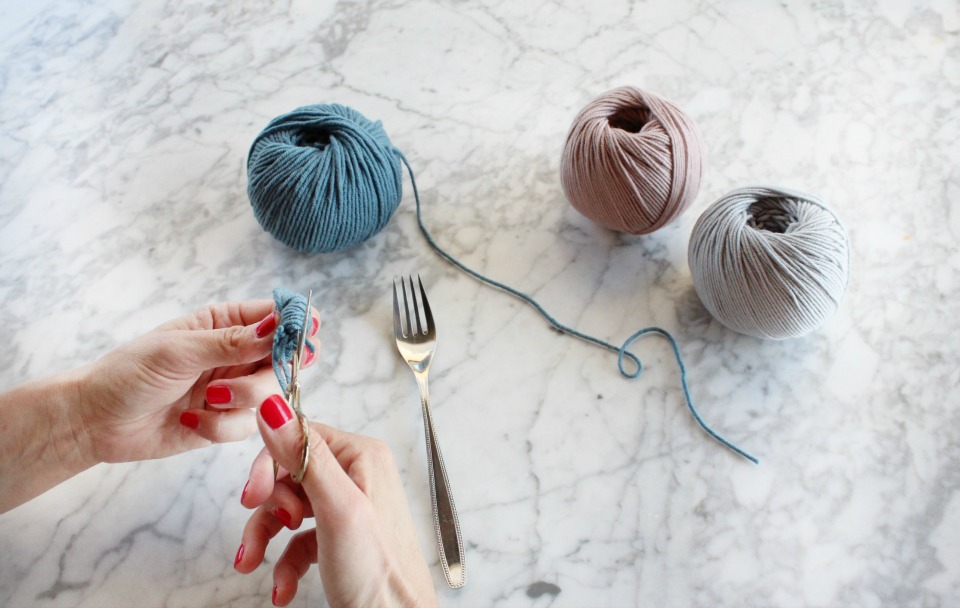
Primero se corta un cabo de unos 20 centímetros que valdrá luego para atar las vueltas que daremos con la lana alrededor del tenedor. Después de cortarlo, se coloca entre los dientes del tenedor.
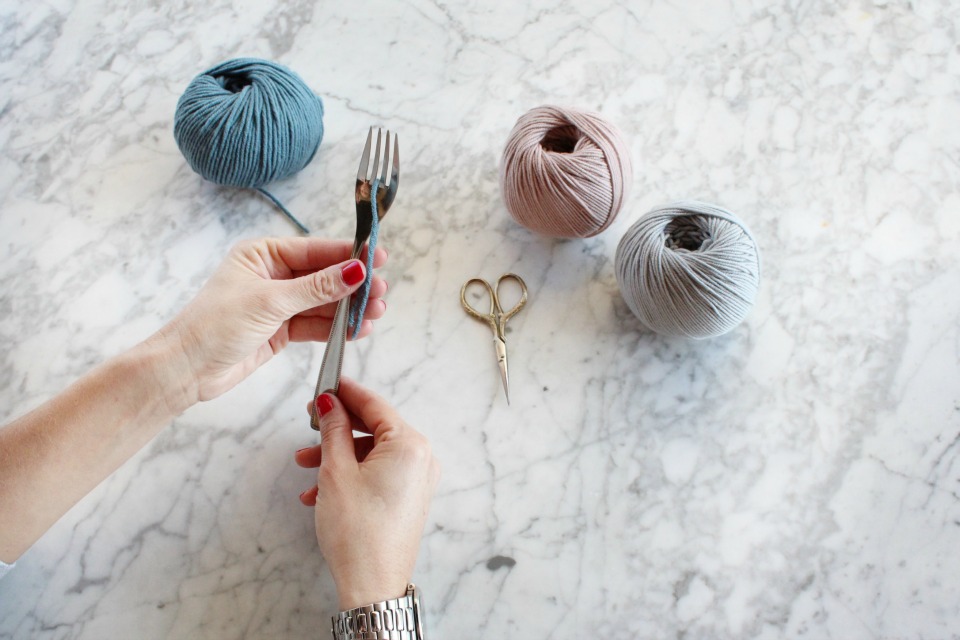
Después cogemos el ovillo, pasamos el hilo entre los dientes y empezamos a enrollar lana alrededor. Cuantas más vueltas, más grande será el pompón.
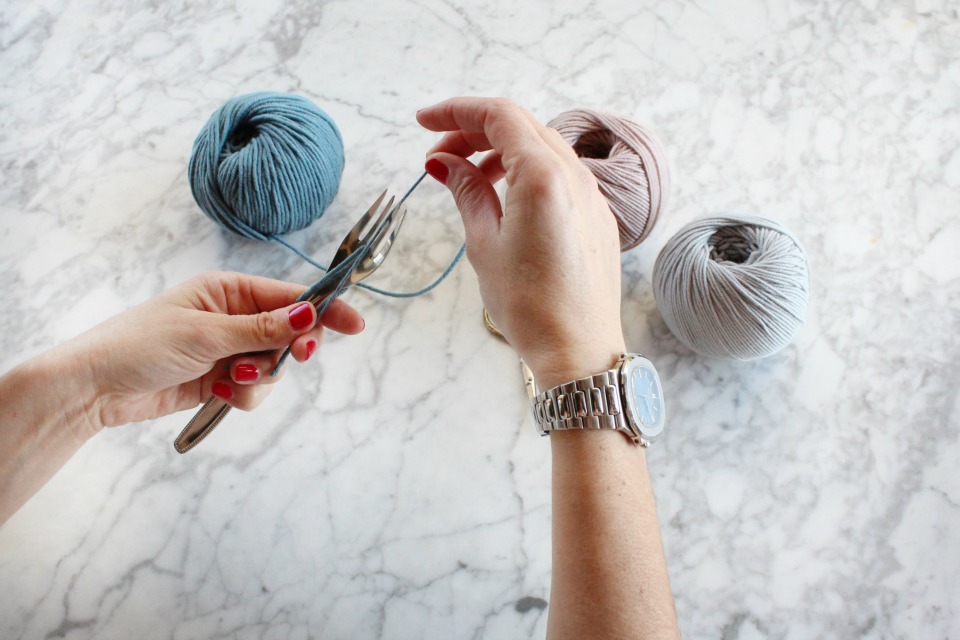
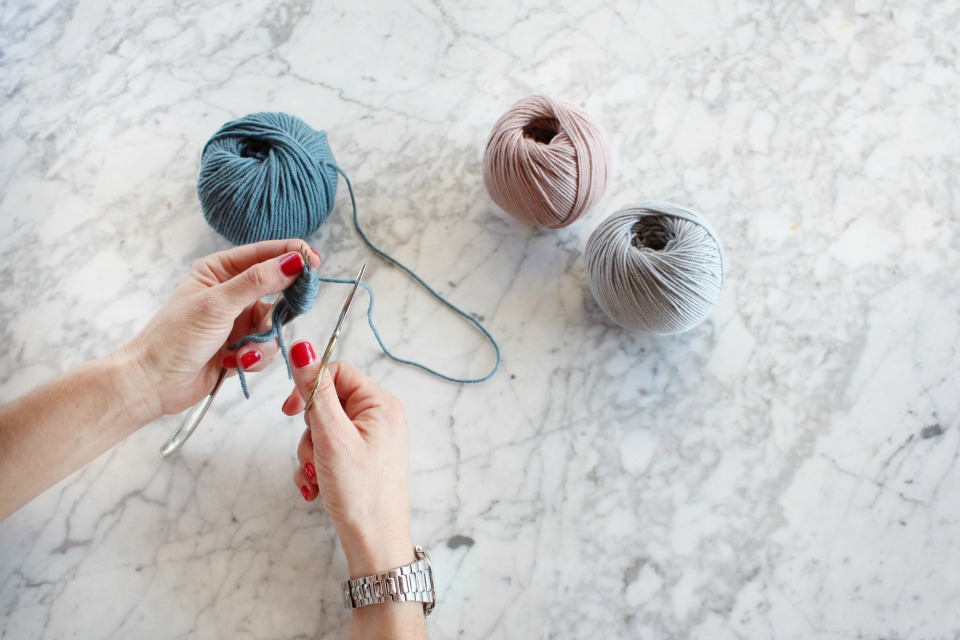
Luego solo hay que hacer un nudo bien apretado con el primer cabo que cortamos, sacamos las vueltas del tenedor y cortamos las vueltas para crear el pompón.
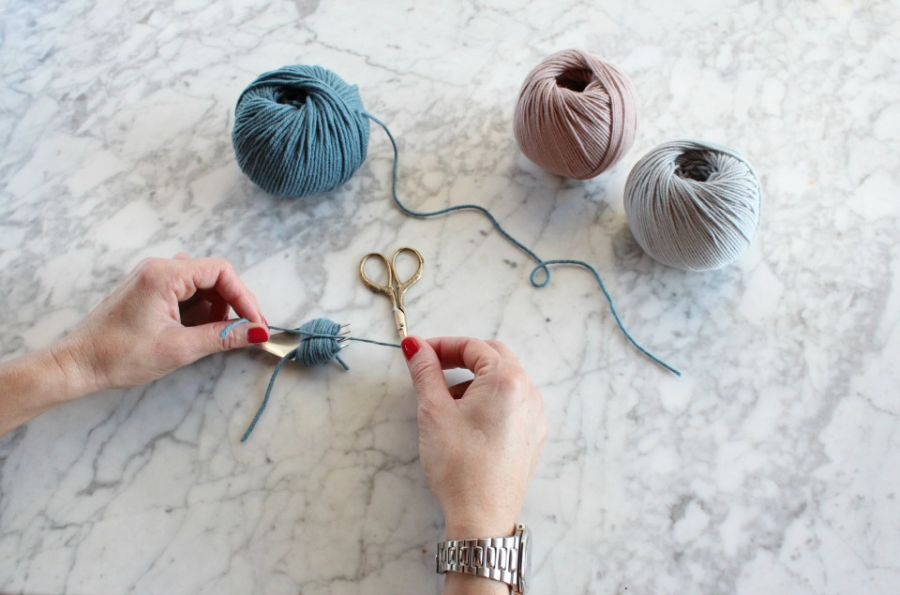
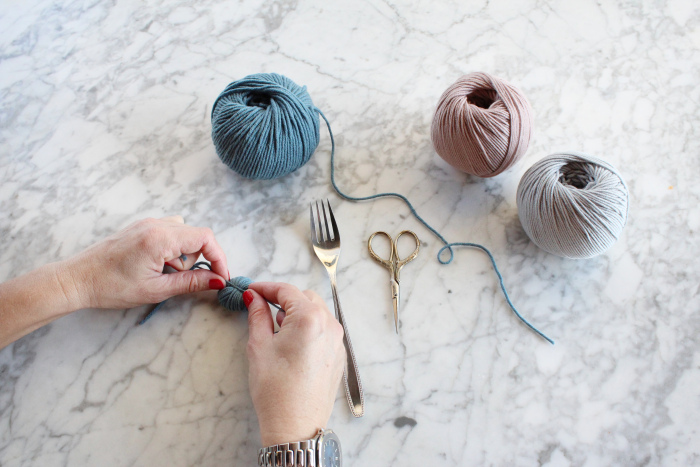
Para dejarlo más bonito puedes igualar la forma un poco y ¡listo! Ahora, a aplicarlos dónde quieras.
![]()
One of the ornaments more common and easier to add in clothes, blankets or decoration in general are the wool pompoms. Surely when you were young you’d seen grandmothers, mothers and sisters make them cutting two cardboard in a circle. Again, surfing the web I found a really easy way to make them, thanks to Poleomenta. I’m leaving their link above for you to meeting them and see other publications, all inspirational, but let me also show you how to make them.
We will need:
- wool remains
- a fork
- scissors
Firstly, cut a rope of 20 cm to tie the rounds of wool we will place around the fork. After cutting, place it between the teeth of the fork.
Take then the wool ball, pass the end between the teeth and began rolling the yarn around. As more rounds, as larger the pompom.
Then you just have to make a tight knot, take out the wool from the fork and cut the loops to create the pompom.
To make it more beautiful you can improve the shape around with your scissors and done! Now, apply them where you want.
![]()
Imagenes: poleomenta